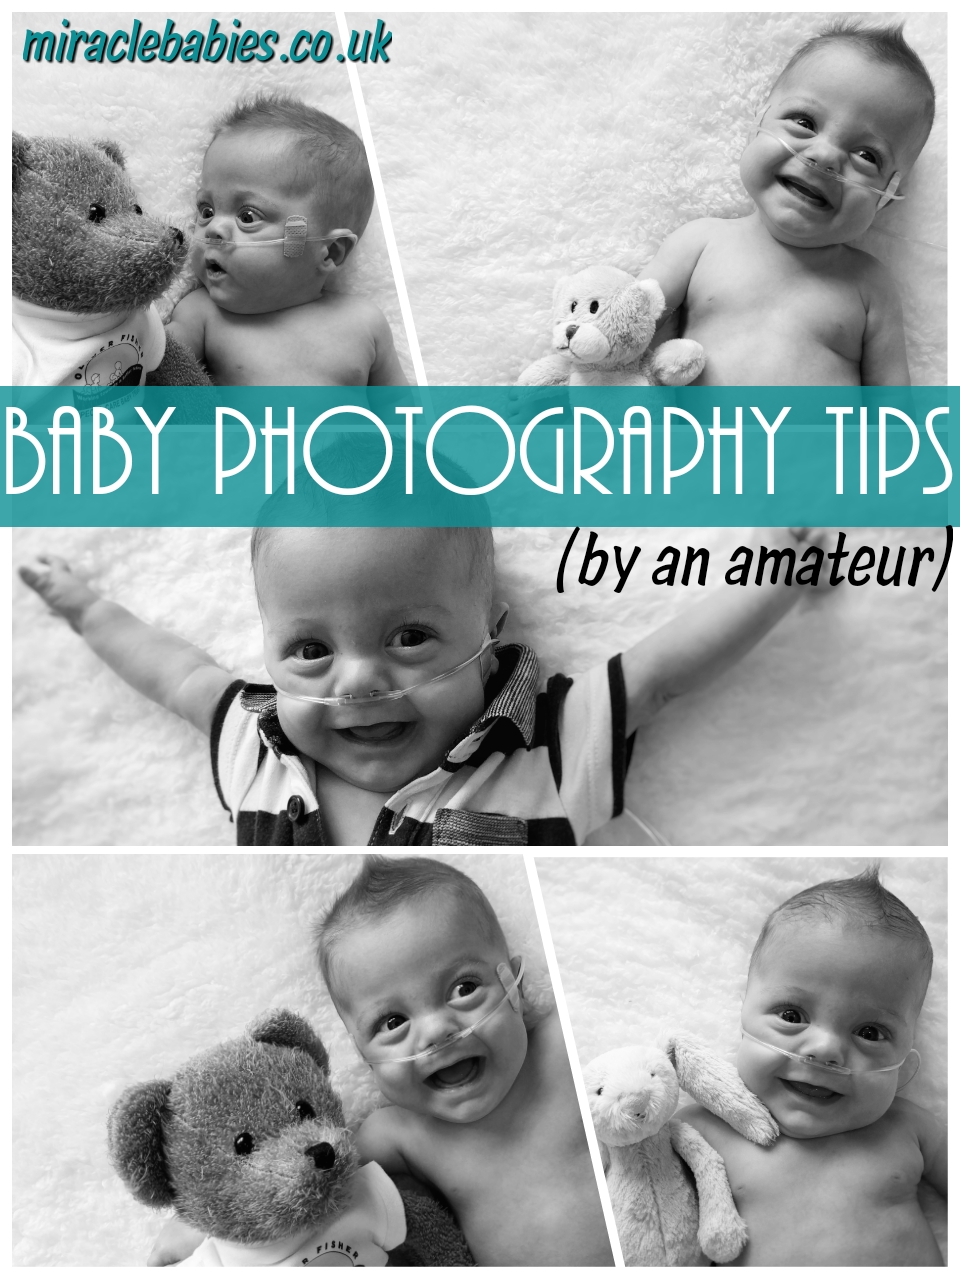
 Before I begin I just want to stress that I am not a professional photographer and what I am writing here is based on both research I have carried out and my own personal tastes when it comes to photography. I’ve just collated everything together in one place to make it easier if you are looking for some hints and tips.
While pregnant I had always intended to take our boys to a professional newborn photoshoot, you know the ones, where the sleeping babies are bundled into super cute positions with their heads resting on their arms or tucked up in a little basket positioned just right. However, clearly life had other ideas and as Henry spent his 1lb 2oz “newborn” stage in hospital this plan obviously wasn’t going to happen. It is worth noting that a lot of these newborn photos are composite images (made up of multiple images), they are much more complicated than they look and should only be attempted by an experienced professional to ensure the baby is not harmed.
As Henry is now out of the newborn stage I thought I would have a go at some baby photography myself instead, mostly to save money as being on maternity leave means funds are a little short! In addition to this I enjoy taking photos and have always had an interest in photography. In fact I’m sure I drive my long-suffering husband mad with the amount of photos I take on holiday and days out! Thankfully, as you can see in the video below, Henry does actually seem to enjoy posing for the camera so that was one step in the right direction!
Hints and Tips
I wanted my pictures to look vaguely like they would pass as professional so before starting on our little home-photoshoot I carried out some research into the dos and don’ts of baby photography and here are some hints and tips and I found particularly useful (I’ve put the sources at the end of this post):
- Ensure the baby is lit from the top as this is more natural, after all, the sun is above us! Lighting from below is usually associated with horror films so not recommended for nice cute baby pictures! Ideally, light from a window is best, I laid Henry down on the bed so the top of his head was facing the window and this seemed to work well.
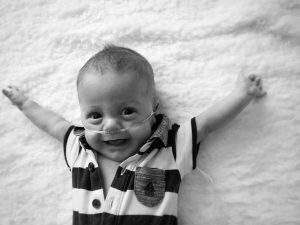
- Shoot the pictures a little bit north of the baby’s nose so you are not shooting up their nostrils, this yields more flattering images and means the eyes are more of a focal point, after the video above I took a lot of pictures of Henry in his jeans but as you can see the camera wasn’t quite at the right angle and I wasn’t as happy with those pictures as the others I’d taken.
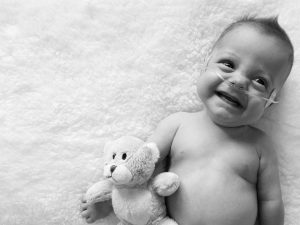
 Use a plain backdrop; I used a white fluffy blanket from Matalan for my pictures, I also replaced our play-mat with it for the day and ended up getting a few lucky shots as a result during play time, the picture on the right is an example of this and ended up being one of my favourites!
- Take lots of pictures at once and filter through them afterwards, vary the angle too so you have lots to choose from, don’t worry too much about framing the picture perfectly as this can easily be achieved through rotating and cropping a later.
- Avoid using the flash, I personally think the flash produces unrealistic lighting and also means you have to spend time editing the dreaded red-eye out of pictures afterwards! I’m sure it would irritate the baby pretty quick too! Try to make sure your room is well lit instead.
- Use props; I really liked capturing the interaction between Henry and some of his toys on camera which made for some really cute photos.
- Take cues from your baby. I carried out our main photoshoot after Henry’s morning feed and some baby yoga as that is generally when he is at his happiest but all babies are different, making a game of it also helps. Stop before the baby loses interest, as soon as you know you’ve got a number of good shots stop, the last thing you want to do is miss out on some quality parent interaction time while your baby is awake and happy.
Editing
 In terms of composition the rule of thirds is a commonly recognised photography technique where the subject is generally off centre taking up a third or two thirds of the image. Although you don’t need to stick to this rigorously it’s handy to keep in mind, really the trick is to just play around with the crop tool until you get a look with which you are happy, often rotating a little bit first can give an interesting look too. I personally like pictures that either fill the frame completely or have a good amount of empty space (but that’s just me!)
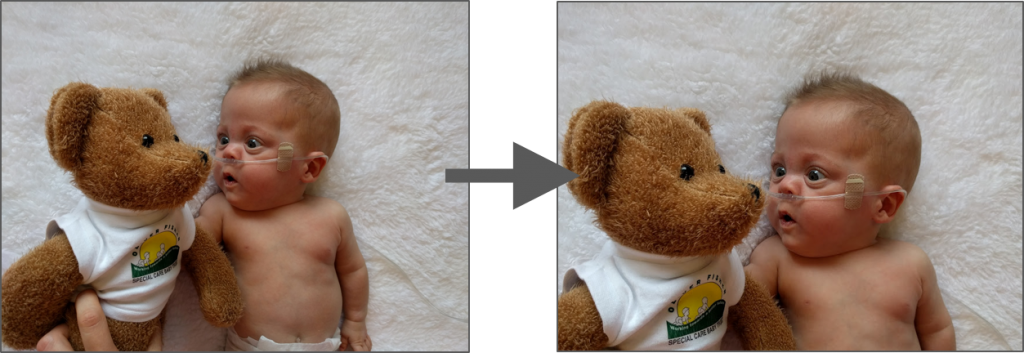
Although I have a pretty decent camera I ended up taking all of my pictures using my phone due to issues with the SD card, although being a Nexus 5X it does sport a pretty decent 12 mexapixel camera. As a result I ended up using a mobile app called Snapseed for editing rather than Photoshop which would be my normal choice, however this did make it a little easier to edit one-handed while either feeding, holding or cuddling Henry at the same time! 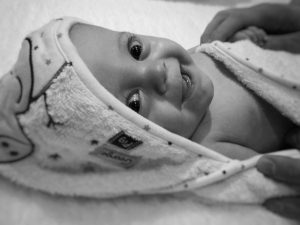 Snapseed also has a nice lens blur feature which allows you to mimic the effect of altering the depth of field, allowing you to focus on a specific area of the picture while blurring or softening the surrounding area, something a professional would achieve through the use of lenses, aperture and shutter speed. This works well if there is only one specific area you wish to focus on, such as the face for example. I used this feature less when I also had toys in shot as I wanted both Henry and his teddy in focus but it was effective for pictures of just Henry, I think it worked particularly well in the post-bathtime shot on the left to really make his face stand out against the surroundings.
Most editing apps allow you to also change to black and white which I think makes photos look particularly eye-catching. Play with the different options when converting to ensure it looks as good as possible as some filters can make the photo look a little washed out, I quite liked the ‘bright’ mode and occasionally the ‘contrast’ option which gave a slightly darker look.
The picture below was rotated to give a more interesting look and also cropped to remove the nappy from the shot.

The following image did not require much editing, I just cropped to remove my hand and Henry’s nappy, I also have a black and white version.
This last image was another lucky shot taken the following day. We were having a bit of a heatwave so Henry was only dressed in a nappy, I draped my trusty white blanket over the sofa, sat Henry up and just snapped away on the off-chance of getting a good picture, luckily Henry was pretty happy despite the heat and gave me a very cute smile, I just needed to crop out my hand and Henry’s nappy as well as pushing the focal point over to the left and adjusting the lens blur a little. I really like the composition of the end result here.

Finally, a hair styling tip; breastmilk! Not overly important but I thought I would include it anyway as a few people commented on how they liked the spiked up look to Henry’s hair and this wasn’t an accident. Inadvertently, I had recently discovered that breast milk makes a good styling product when I used some on his head for cradle cap, naturally I had played around spiking his hair up afterwards and found that even after brushing the hair stays in the same position and goes nice and fluffy too!
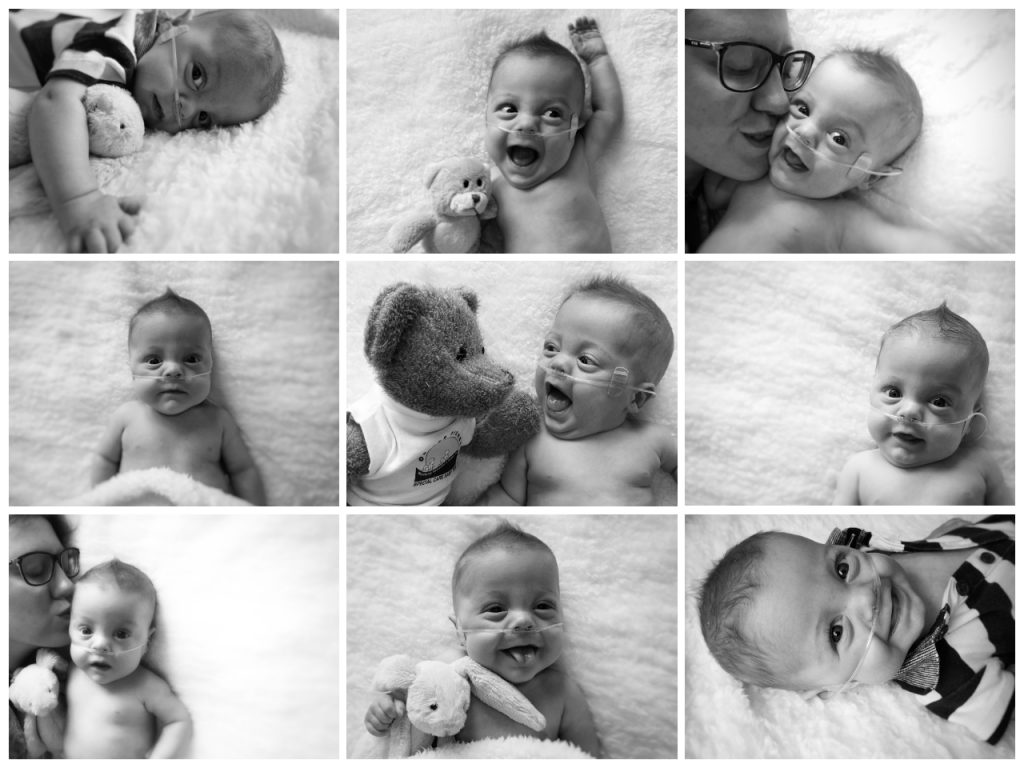
In addition to those shown already, here is a show case of some of the final images from our little photoshoots:
Useful sources of information:
Check out my Pinterest board below for more ideas and if you have any suggestions feel free to add a comment!